Build a HMI Display for Windows/MacOS using Wio Terminal

In this wiki, we will introduce how to use Wio Terminal as HMI display using the usermode SDK for runing on Windows/Linux/Mac OS. This extends the possibilities of Wio Terminal in Industrial usage!
If you want to use Wio Terminal with Raspberry Pi as HMI display, please check this wiki.
Hardware Required
Wio Terminal Firmware
First, you will need to upload an Arduino program to your Wio Terminal via your PC.
- Download the Seeed_Arduino_USBDISP library here.
There are two examples, NullFunctional and USBDisplayAndMouseControl:
- If you want higher screen refresh rate on Wio Terminal, upload
NullFunctionalto Wio Terminal. - If you want Wio Terminal to also act as a USB Mouse, upload
USBDisplayAndMouseControlto Wio Terminal.
Please make sure read the notes, for usermode SDK, USBDISP().begin(true); becomes USBDISP().begin(true, true);.
uf2 Method
For convenience, we also provide uf2 methods of uploading Wio Terminal's firmware. Simply download the uf2 files from below.
Download the NullFunctional
uf2files.Download the USBDisplayAndMouseControl
uf2files.
Entering the bootloader mode by sliding the power switch twice quickly. For more reference, please also see here.
An external drive named Arduino should appear in your PC. Drag the the downloaded uf2 files to the Arduino drive.
Host Device Firmware
This time our host device becomes our PC, let's walk through how you can use Wio Terminal as HMI display with the usermode SDK!
MacOS/Linux OS - C++ SDK
- Download the firmware repo:
cd ~
git clone https://github.com/Seeed-Studio/seeed-linux-usbdisp.git
- Navigate to the usermode sdk path:
cd ~/seeed-linux-usbdisp/drivers/usermode-sdk/rpusbdisp-drv/src
Open the rpusbdisp.cc and define macros depending on your Wio Terminals firmware (Nullfunctional or USBDisplayAndMouseControl). Uncomment the one that you are using:

- Navigate back to the usermode sdk path:
cd ~/seeed-linux-usbdisp/drivers/usermode-sdk
- Make and build the driver:
make
You may require some dependent library such as lisusb. MacOS can use brew and Linux OS can use apt-get to install.
- Navigate the build directory:
cd ~/seeed-linux-usbdisp/drivers/usermode-sdk/build/
- Run the demo:
sudo ./rpusbdispdemo --demo 1

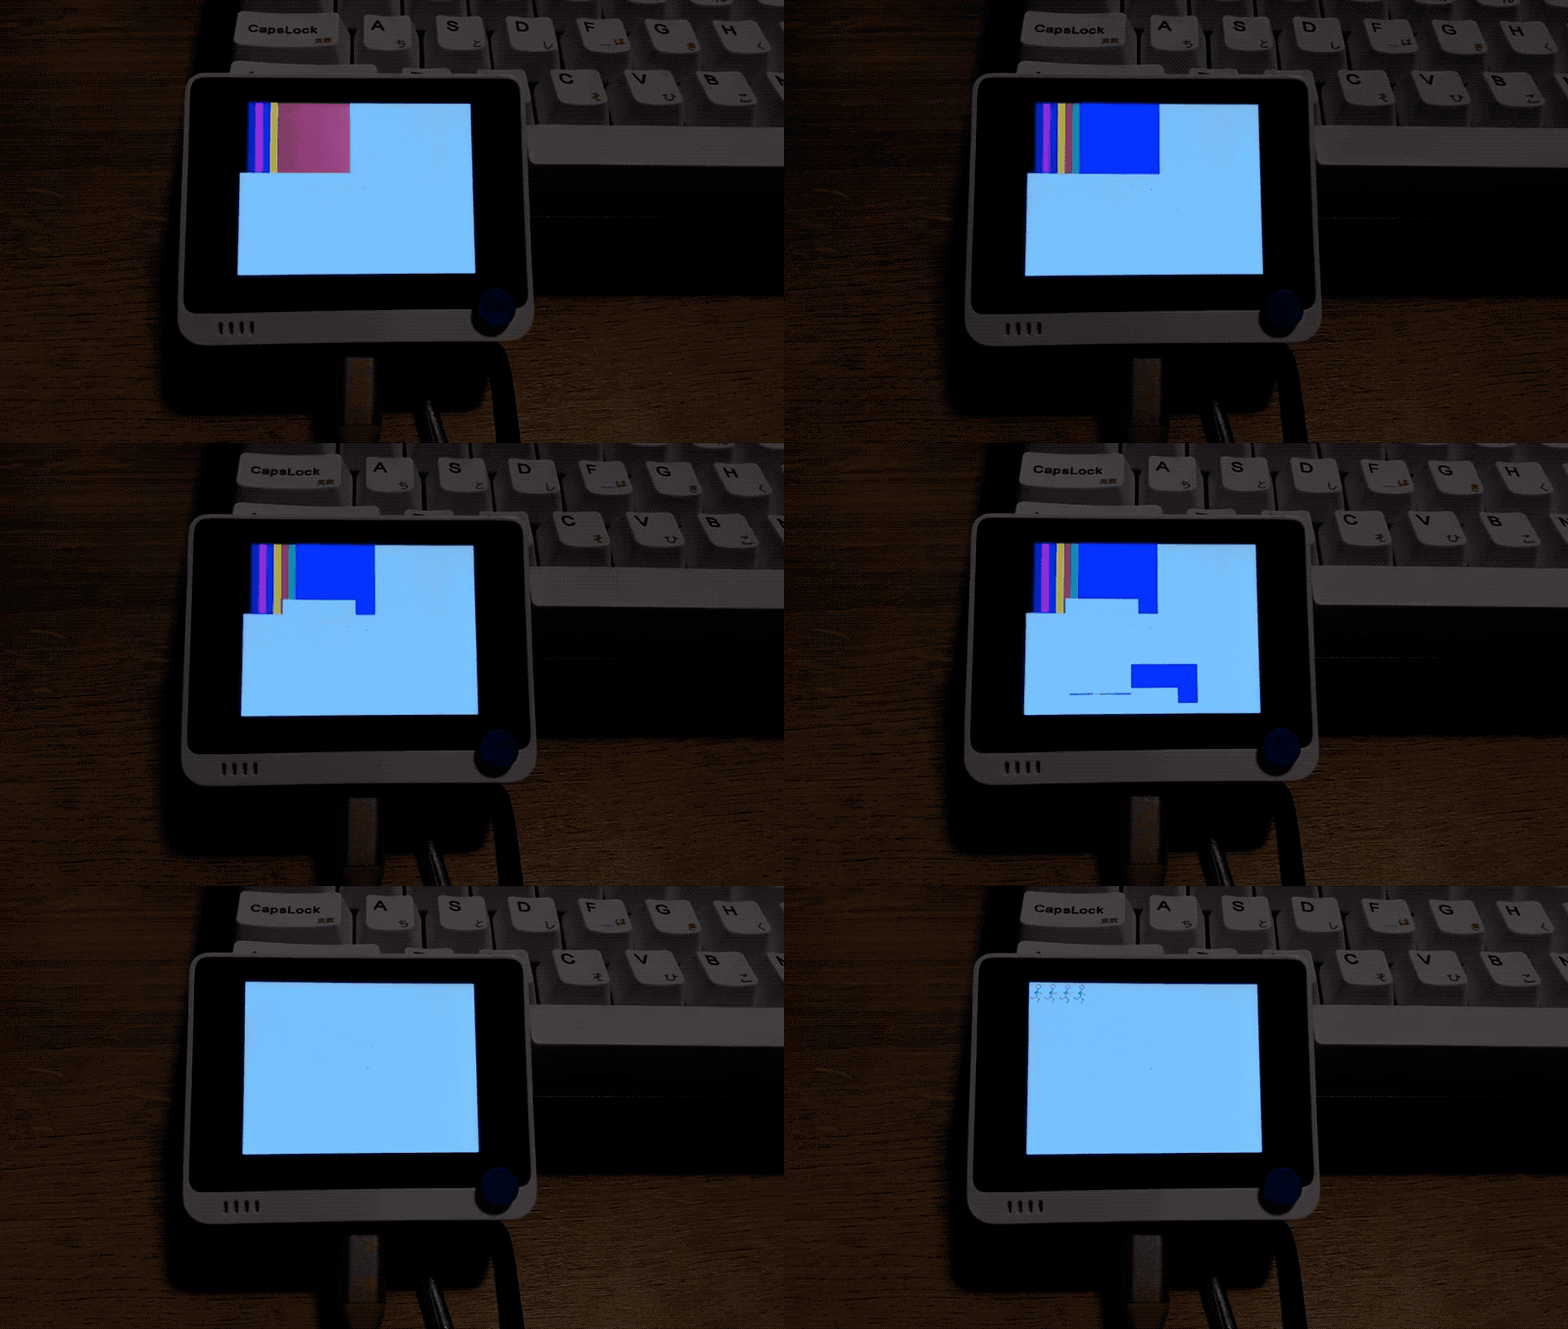
You should see that Wio Terminal is starting to display, the graphics are drawn. The source code for this is under: seeed-linux-usbdisp/drivers/usermode-sdk/demo/src/main.cc.
Multiple Screens
This C++ SDK also supports multiple screens (multiple Wio Terminals), for 2 screens usage simply run the demo 2:
sudo ./rpusbdispdemo --demo 2
Note: Here provides 4 demos up to using 4 screens, you may check the source code for referencing your applications.
Windows - Python SDK
For Windows, you can run the usermode sdk on Python! First, make sure you have installed python and install the dependent library:
Python is cross-platform and you can run this demo on all platforms, including Windows/Linux/MacOS
pip3 install pyusb
- Go to the python-demo path:
cd ~/seeed-linux-usbdisp/drivers/python-demo/
- Open the
simple-test.pyand define the right macros with the firmware inside your Wio Terminal, and save.

- Run the Python demo:
python3 simple-test.py

Multiple Screens
This Python SDK also supports multiple screens (multiple Wio Terminals), you may check the USBDisplay.py as reference.
This examples use 4 Wio Terminals as displays, which has a format looks like the following:
devices = list(usb.core.find(find_all=True, idVendor=0x2886, idProduct=0x802D))
dev1 = devices[0] # device 0
dev2 = devices[1] # device 1
dev3 = devices[2] # device 2
dev4 = devices[3] # device 3
Simple Demo
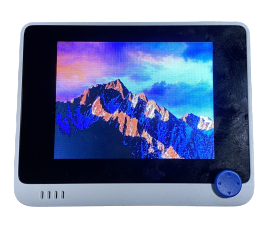
This example simple transfer a image from PC side to the Wio Terminal using Python.
- Go to the demo path:
cd ~/seeed-linux-usbdisp/drivers/python-demo/
- Download the
image.jpgand save it in the same location asimage-test.py.
Note: Please choose the macros that match your Wio Terminal firmware, otherwise there will be an error.
- Run the demo:
python3 image-test.py

Resource
Tech Support
Please submit any technical issue into our forum
