Original OS
This tutorial demonstrates how to create a bootable USB drive and install Linux OS(Ubuntu Desktop 18.04) onto the ODYSSEY - X86J4105.
Hardware Requirements
A Working Computer
A USB Drive(>= 8GB is recommended)
A Monitor
Keyboard and Mouse
Creating a Bootable USB
Step 1 - Download the Operating System Image
Download your required OS Image to your local drive. In this tutorial, Ubuntu Desktop 18.04 is used to demonstrate to install into the ODYSSEY - X86J4105.
- You can download Ubuntu OS Image from here.
Step 2 - Prepare your Bootable USB
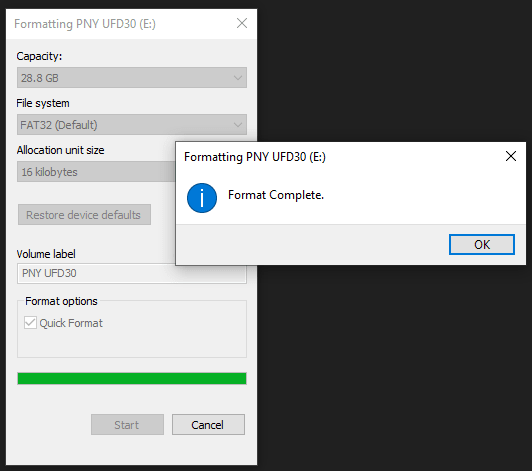
Format the USB drive. If you are a Windows user, you can format the USB drive by right-clicking the USB Drive and select Format.
Note: Choose FAT32 for the File System.

Step 3 - Download Flash Burner
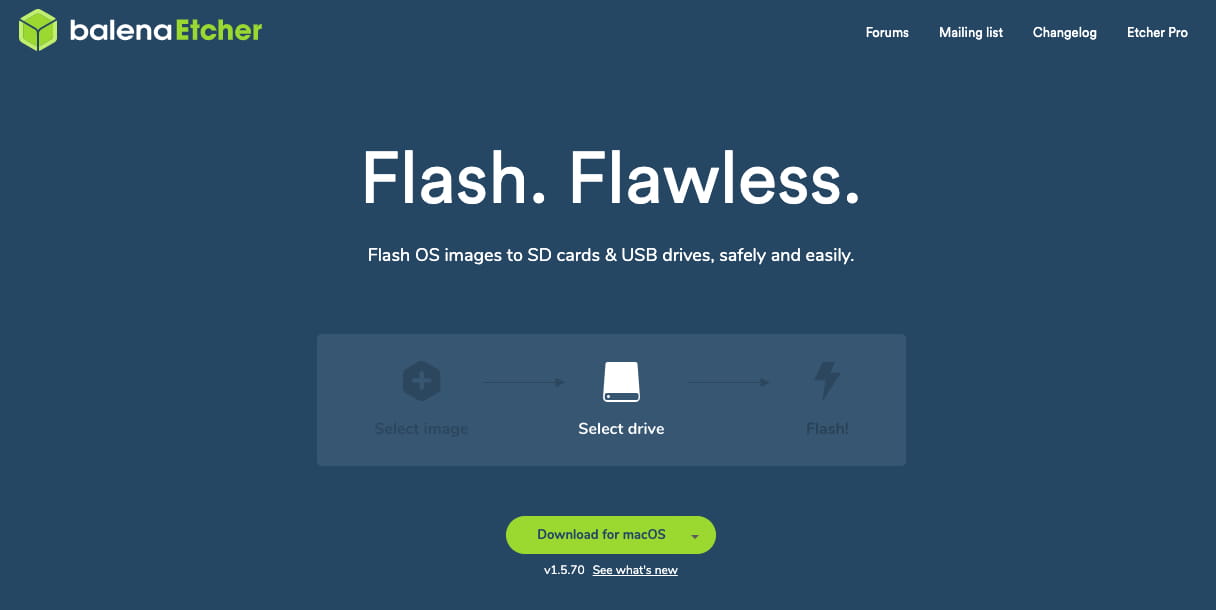
Download the Open Source Flash burner balenaEtcher. Download the version according to your operating system(Windows/macOS/Linux).

Step 4 - Writing the OS Image into USB
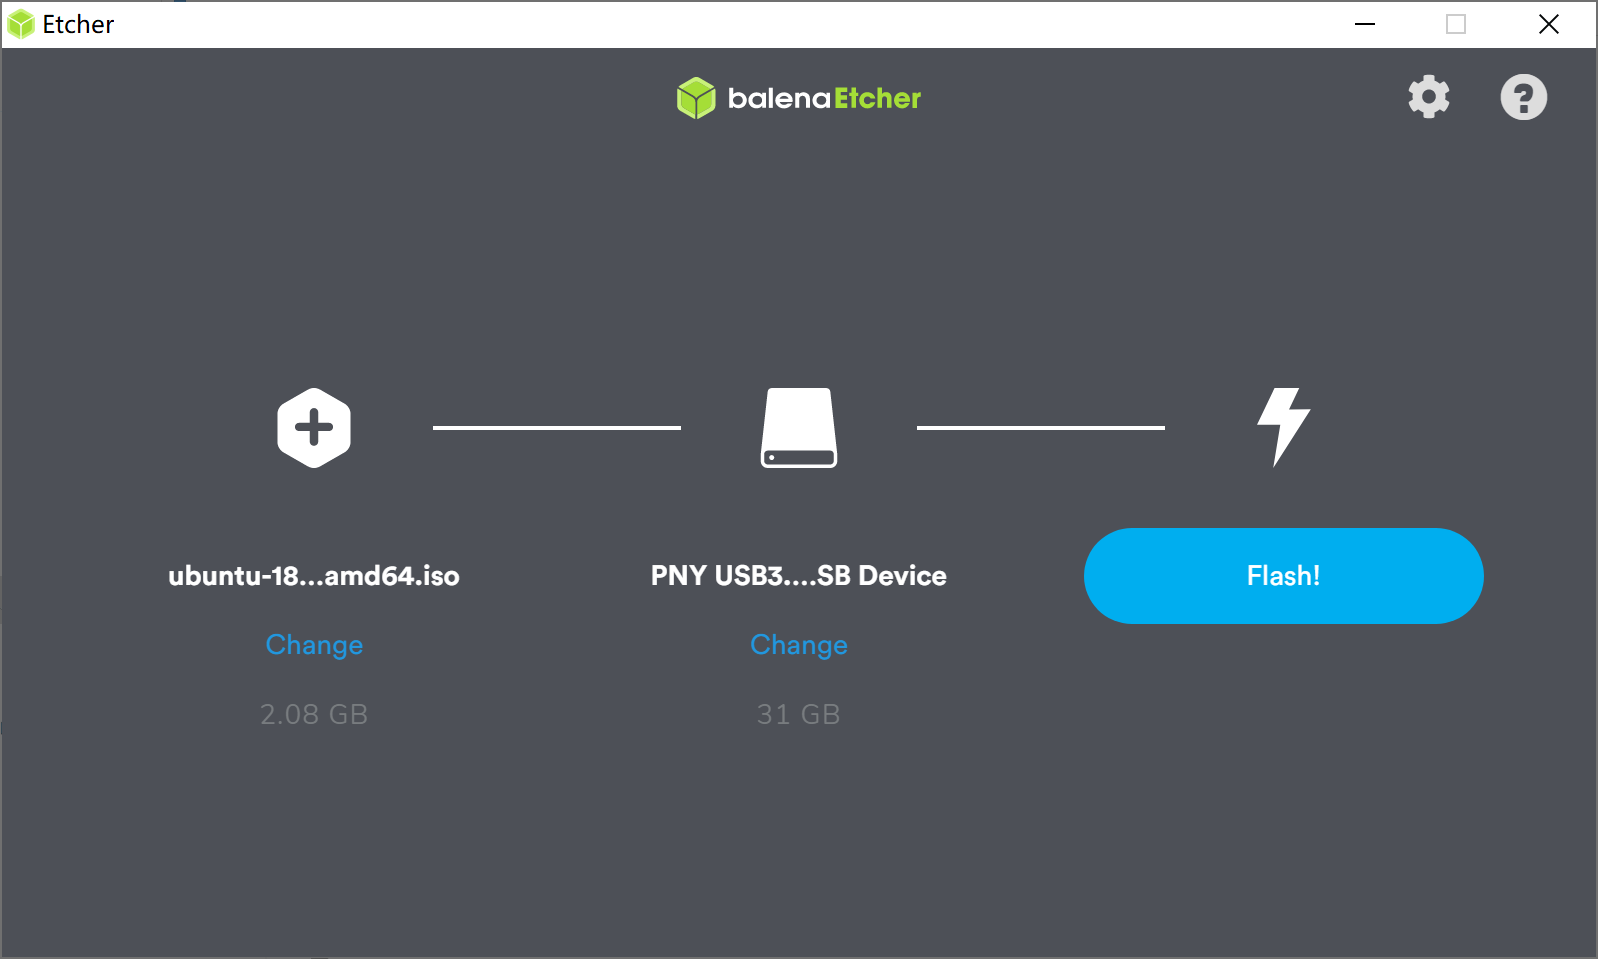
Select the downloaded Operating System Image, select the formatted USB Drive and Flash! Now, the bootable USB is all set to go.

Installing Operating System (Ubuntu)
Step 1 - Selecting Bootable USB as Boot Device
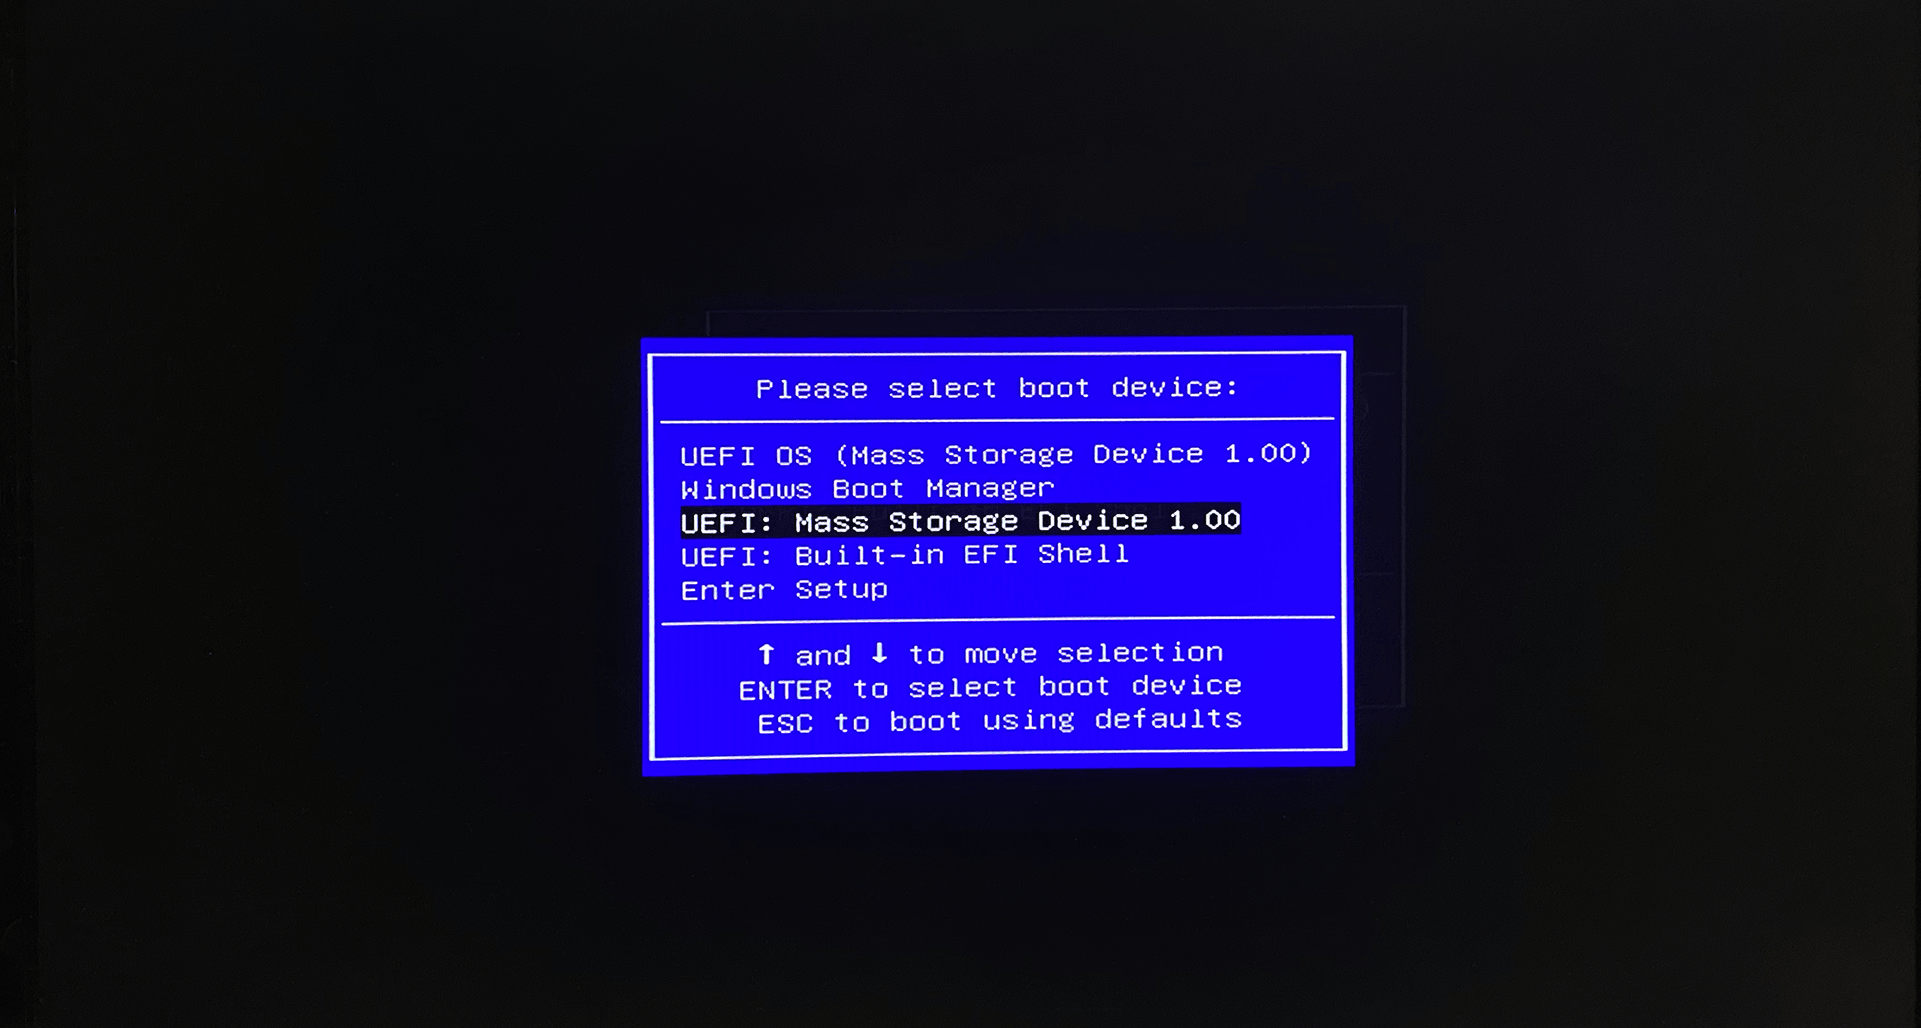
Plug in your bootable USB, Monitor and keyboard to ODYSSEY - X86J4105, and power up. When booting up, keep pressing F7 to enter the Boot Manager Screen. And use ↑ and ↓ Key on keyboard to select your bootable USB.
In this Tutorial, UEFI: Mass Storage Device 1.00 is the bootable USB.

Step 2 - Installing the OS
Select the Install ubuntu and press Enter. Follow through the installing instructions on the screen, i.e. system language, user name, location and etc.
Note: For detail steps of Installing ubuntu, you can follow this video for more information. The Installing part starts at 3:20 in the video.

Step 3 - Reboot and Enjoy New OS
If everything goes well, ubuntu should be installed on the ODYSSEY - X86J4105 and you can start enjoying your new OS!

Notes
- Ubuntu 16 is not supported by ODYSSEY - X86J4105
Tech Support
Please submit any technical issue into our forum
